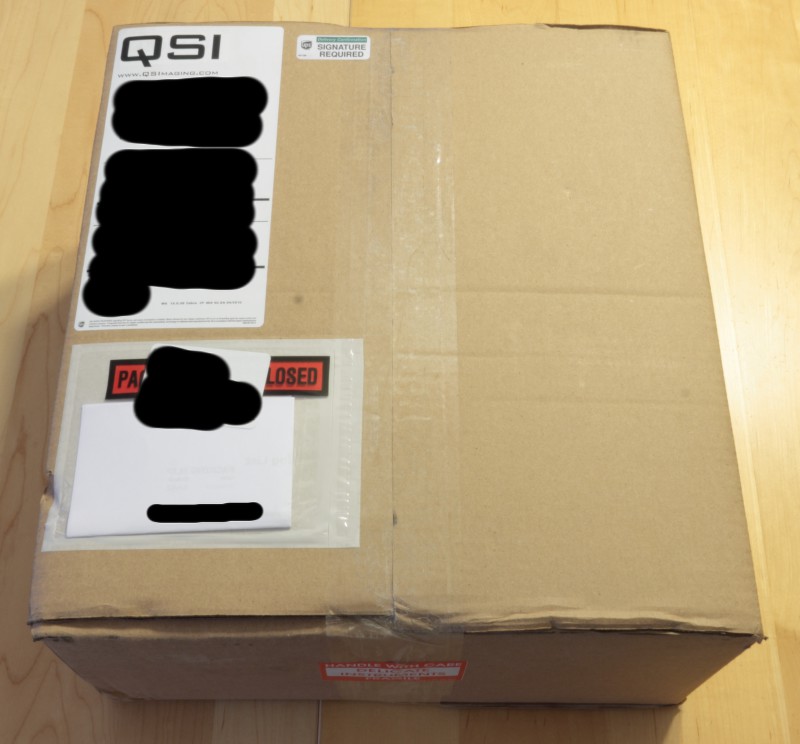
Well, after waiting 10 weeks and 1 day after purchasing it, my new camera has finally arrived. QSI had a supply issue which halted production of my camera for a while (and I assume others in that same batch). It took a little nudging, but I did get lots of feedback about the delay, what the new outlook was, when the missing part showed up at the manufacturing facility, etc. That sort of feedback definitely counts towards customer good will. They also gave me free expedited shipping (next day air) which is definitely a plus.
Luckily when the UPS guy showed up he was very patient. I checked the box over carefully and while there were a couple small dents there was nothing indicating serious damage, so I signed for it, brought it inside and started doing my happy dance 😉
I’ve managed to do a little testing with it but it’s pouring down buckets here so no night time first light. So, without further ado, unboxing pictures!
You can see one of the dents on the left edge

Opening the box reveals… more box

Under the cardboard spacer is a document packet

Which contained a driver CD and a few papers.

Inside the box was another box and in that was a pelican case, which I presume contains the camera and accessories

Yep.

Camera and all the accessories (AC power supply, USB cable, nose piece, hex wrenches, and ST4 cable)

Front of the camera

Rear of the camera (those fans are tiny)

Transfering filters from my old filter wheel (you can see all my grubby hand prints on that nice anodized aluminium)

Filters now in place
I did some of the unboxing pictures before starting any testing and then returned to taking more after I was sure that everything was working. So, before the filters went in I had already fully characterized the camera (at least for 1×1 binning). It’s an interesting mix of better and worse than the specs listed on QSI’s website. This is what QSI lists:
Read Noise: 3.5 e- (typical)
Dark Current: 0.002 e-/s (@ -10°C)
Dynamic Range: 68 dB
I can infer full well depth from this, since Dynamic range in decibels is:
20*Log10(FWD/RN)
You can determine the full well depth by:
RN*(10^(Dynamic Range / 20))
So the full well depth should be 8791.6 e-.
This is what I found (this is with the default high gain mode binning 1×1):
Gain: 0.05 e-/ADU
Read Noise: 2.29 e-
Dark Current: 0.004 (@ -15°C)
Full Well Depth: 3217.92 e-
Dynamic Range: 63 dB
That’s an amazingly low read noise! Dark current is a bit off, but I’m not overly concerned about it. That full well depth and dynamic range is a little suspicious though. The PixInsight script that generates these values from calibration frames, doesn’t really know what the full well depth is, it just extrapolates what the charge is at the max ADU for a given gain. I suspect that QSI set the gain so that the camera stays in the linear range, but I wanted to check. To do that, I needed to test in low gain mode so that the charge well would entirely fill up before reaching the maximum ADU count.
Low gain parameters:
Gain: 0.145 e-/ADU
Read Noise: 2.98 e-
Dark Current: 0.020 (@ -15°C)
Full Well Depth: 9266.56 e-
Dynamic Range: 96 dB
I don’t trust the Dynamic range mostly because it is based on that theoretical max ADU, which I should never reach in low gain mode. However I can determine exactly what the full well depth is in low gain mode and get a look at linearity at the same time by taking a bunch of flat frames at increasing exposure lengths. Doing this resulted in the graph below.

You can see that the charge well starts filling up and the sensor response becomes non-linear above 22500 ADU. At a gain of 0.145 e-/ADU that’s around 3258 e-. Ah ha! That matches the max allowed full well depth in high gain mode almost exactly. To me that’s a strong confirmation of QSI setting the gain for maximum linearity. I suspect that the dynamic range they quote is based off the true full well depth of 5334.5e- and the high gain read noise for which I get 67.4 dB, pretty close to the 68 dB spec.
So, the dynamic range isn’t as large as I expected. That’s probably my least concern as I can always take some shorter epoxsures and use HDR to combine them if necessary.
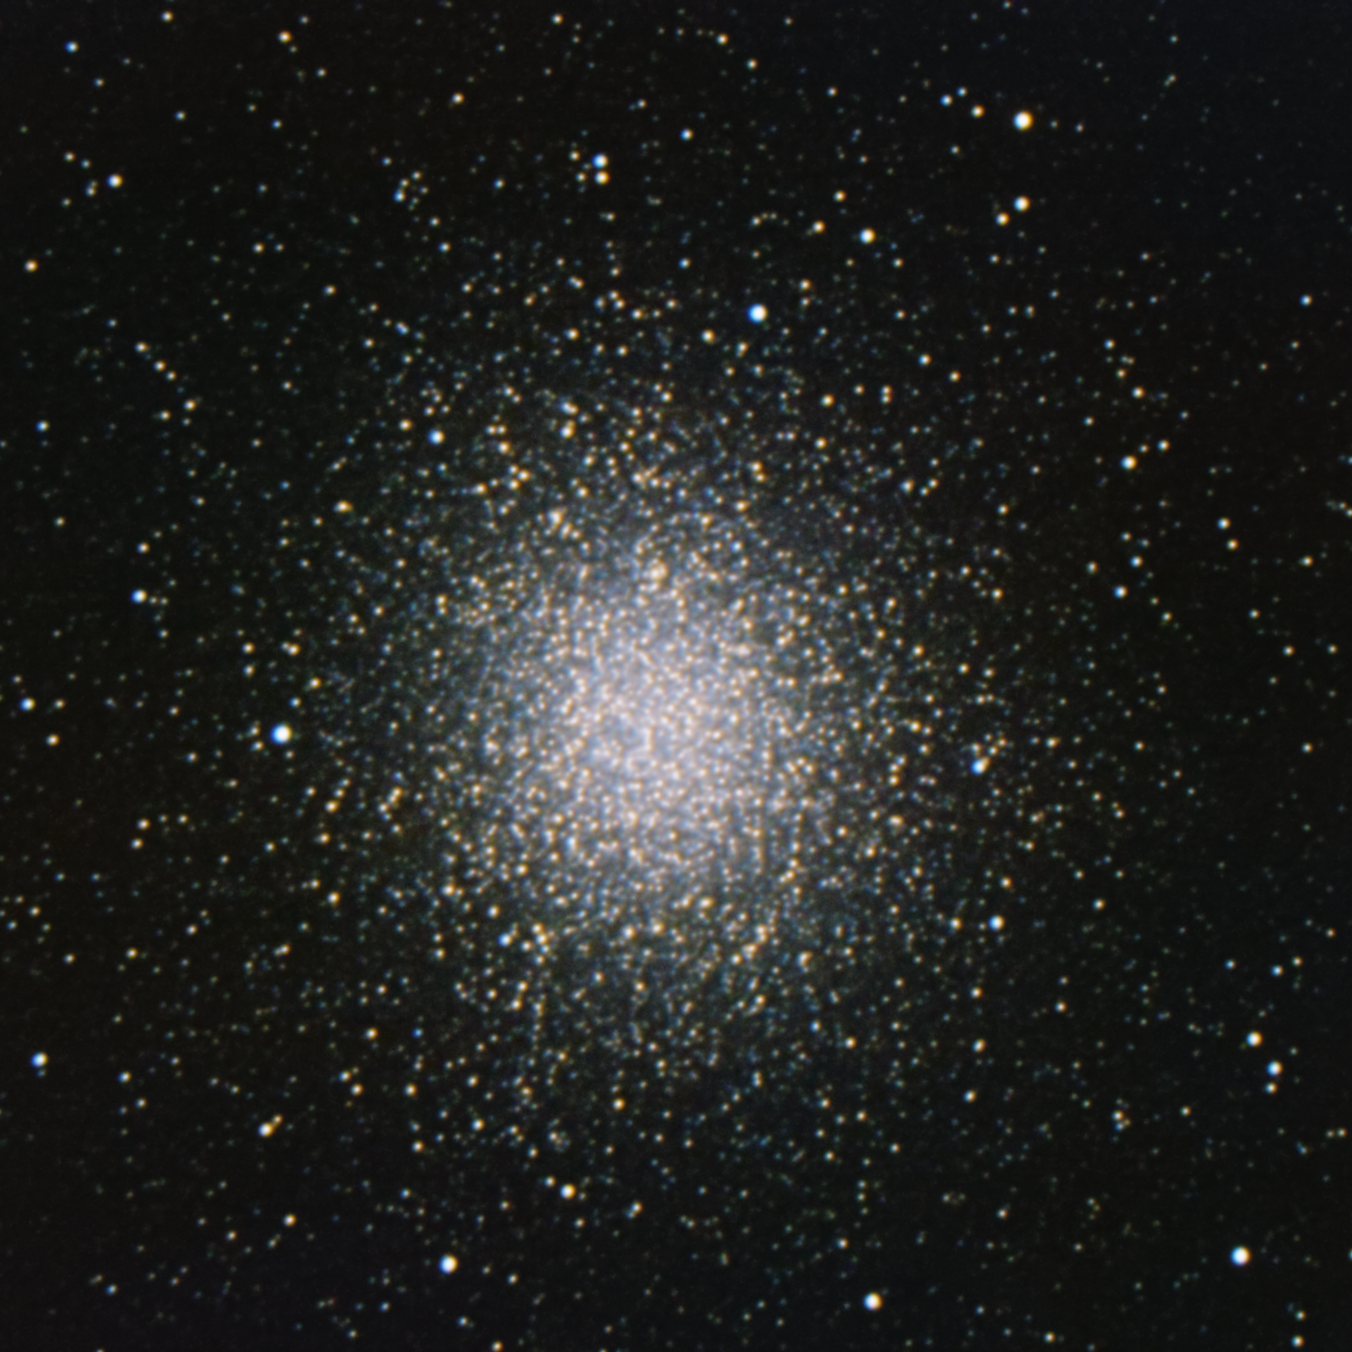
I couldn’t leave it here for the night without taking some sort of ‘first light’, so I pulled out my scope, got everything attached and focused (well, partially focused anyway) on some of my wife’s jewelry at about 60 feet away. I took a few L, R, G & B exposures and put them together to make this:

Full version here.
All in all, I’m happy with the camera. Now I just need the skies to clear so I can get out and see how it performs in real world conditions. And sorry for the horrible weather for all those anywhere near Austin 😉